Adding images to variations and dealing with image styles
Adding images to your products sounds like an easy scenario. In fact. you might be surprised to see this in a documentation user guide. But there are a lot of questions you will need to answer before you can even begin to understand how you might want your website to handle images. For example, do you want each "size" of tshirt to have multiple photos? What about each size and each gender? What about just changing the photos on gender, regardless of size? Or perhaps you want a single gallery for all the variations per page. We don't answer everyone of the possibilities below, but perhaps you can learn how we're doing this and come up with your own ways to treat images on products.
Per Variation (Demo Store Setup)
The Kickstart 2 Demo Store chooses a relatively complicated setup to show you how that complexitity works through the entire site: Each variation has it's own set of images. Below are the two steps you'll need to take to add an image using the Kickstart 2 Demo Store
Step 1: Add Product
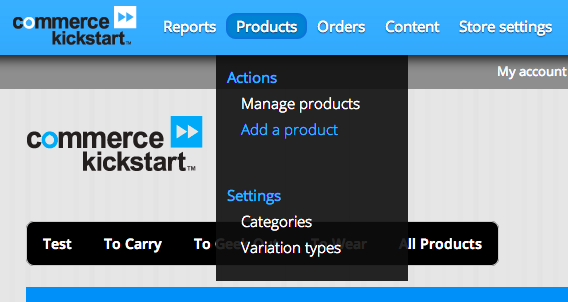
To add a product with an image, first you mouseover "Products" and choose "Add a Product."
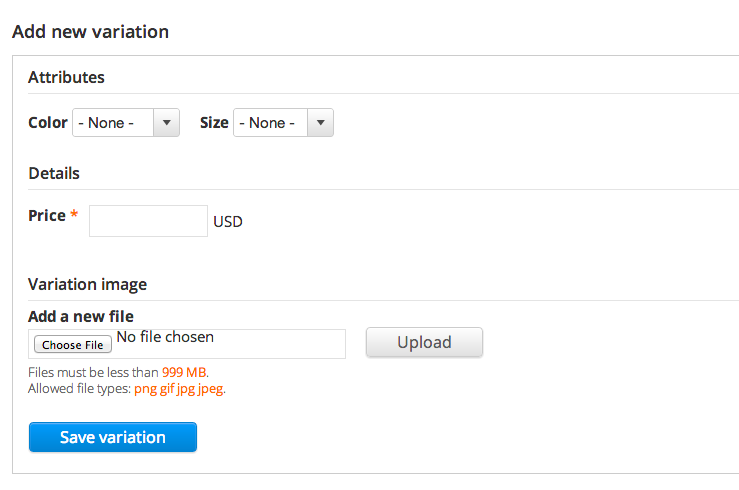
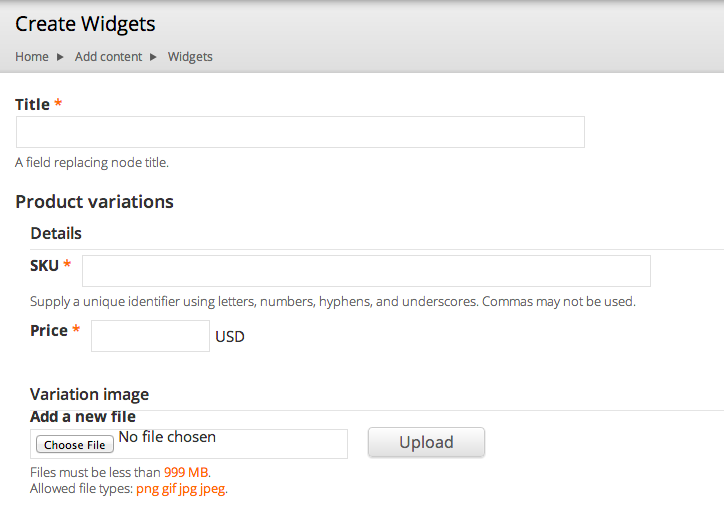
Step 2: Add Variation Image
In Drupal, image sizes are only limited by the amount you can safely upload and how big of an image your server can process. It usually gives you an idea of how big of an image you can upload based on maximum filesize. If unsure, try not to upload images greater than 5MB.
To set this up on the "No Demo" kickstarter, you can follow these steps:
Step 1
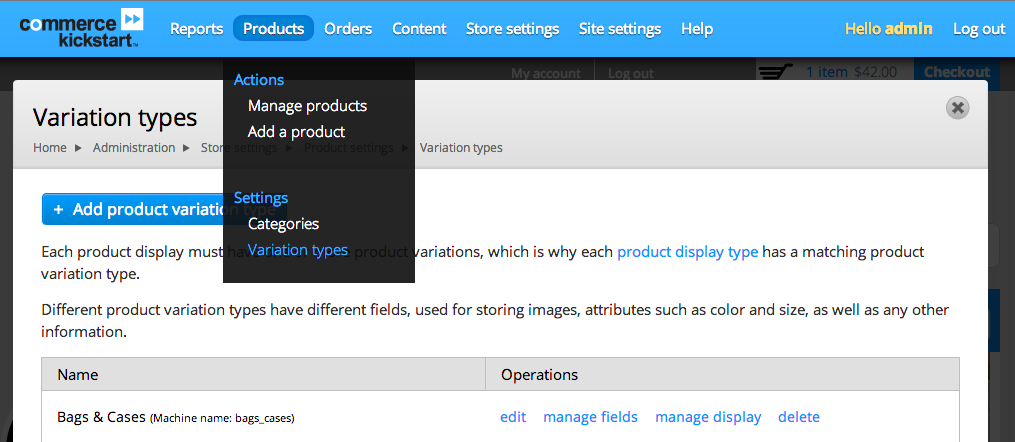
Let's go to the Product Variations so we can add a new one. If you don't need to add a new variation, skip to step 4 below.
Step 2
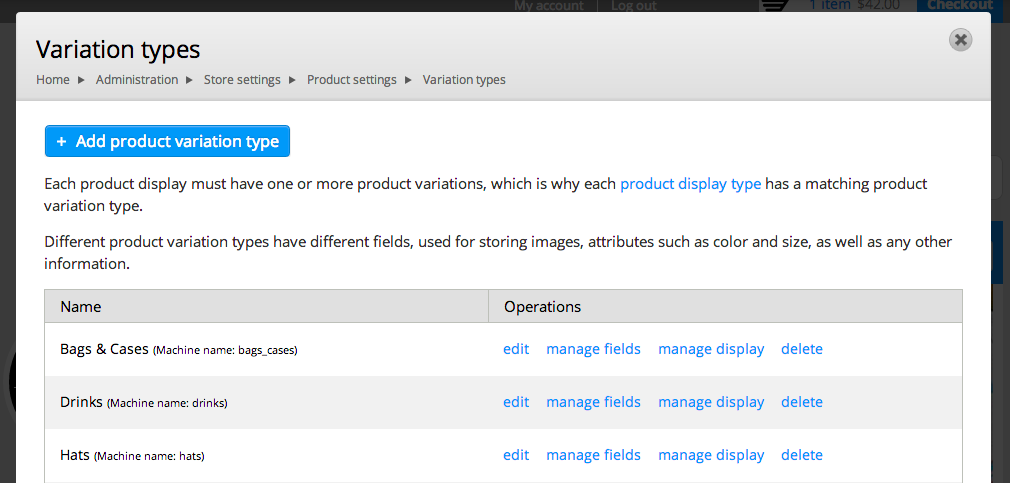
If you need a new Variation, let's go ahead and click on "Add a New Variation"
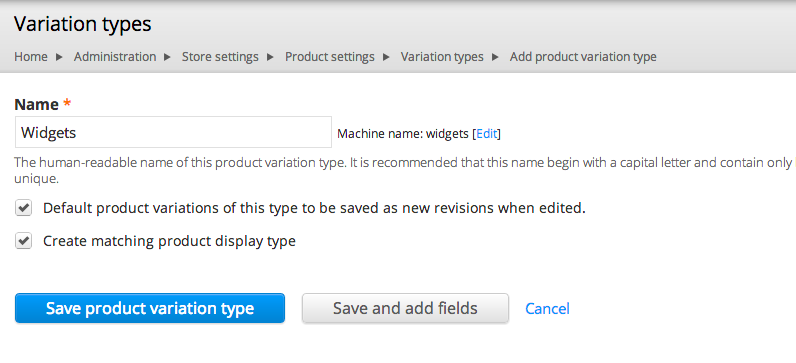
Step 3
This is what the form looks like to create a new Product Variation. Simply give it a name, make sure both checkmarks are checked and click "save product variation type."
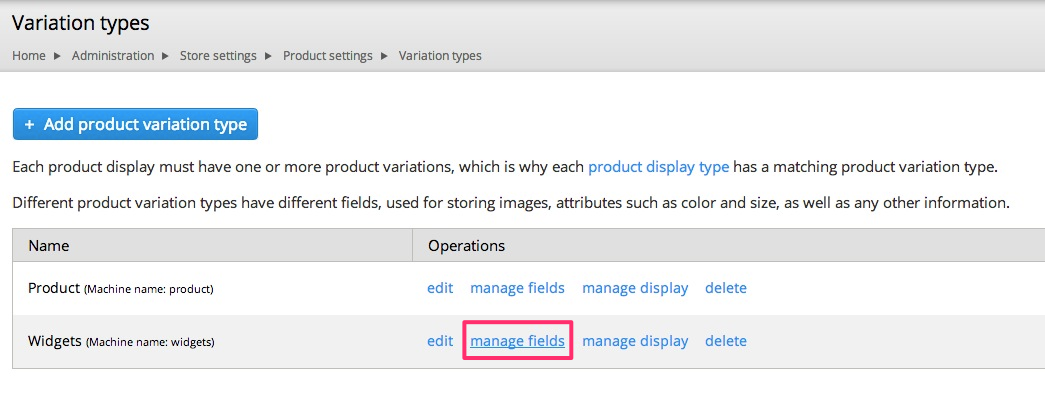
Step 4
Now you want to locate your new Product Variation and click "Manage Fields" next to it.
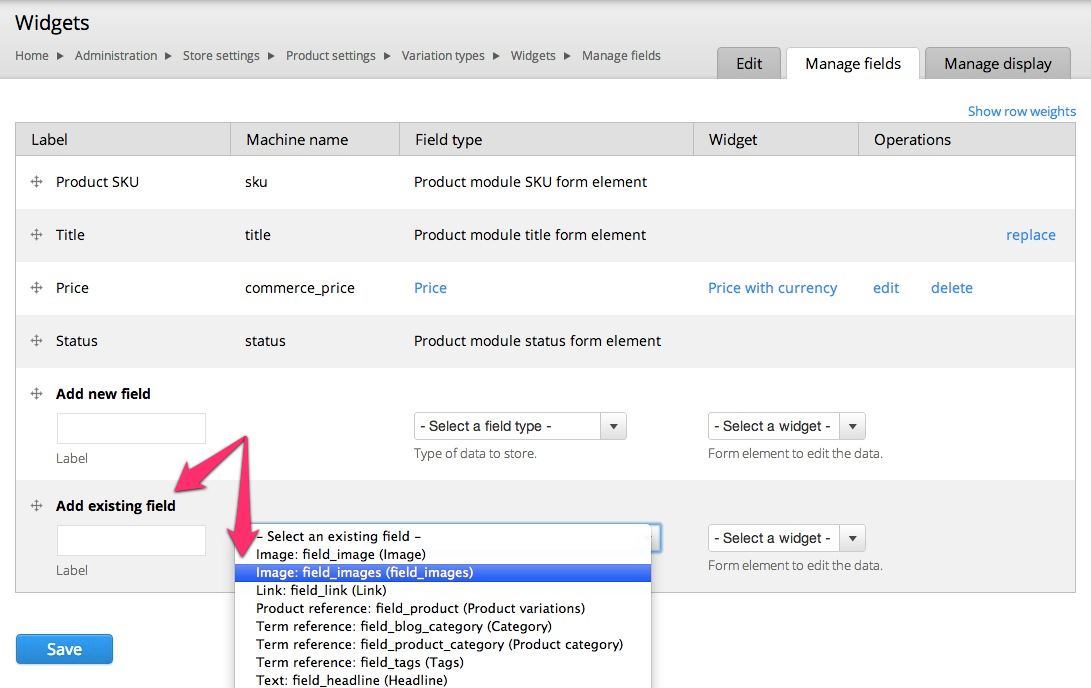
Step 5
Let's go ahead and add an existing field. It's already got a database table and everything defaults to the one that comes with Kickstart 2 No Demo store. This is potentially more efficient and clean than creating a brand new field.
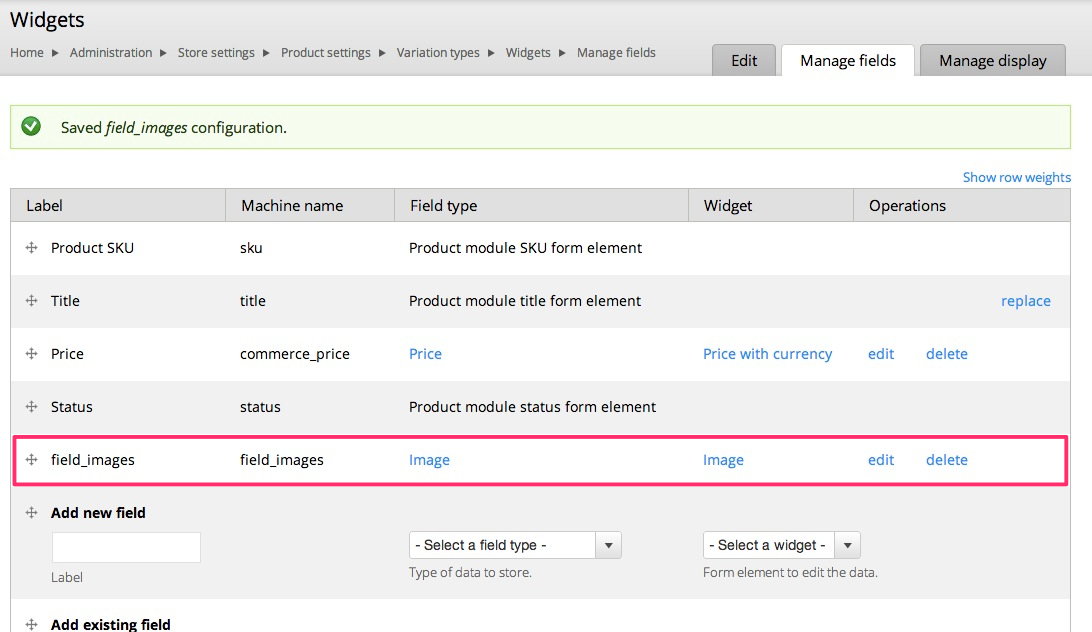
Step 6
This is what the product variation type manage fields section should look like to create a gallery product field.
Example Product Form
This is what adding a new product type should look like for you to add new images.
Per Product Display
You can follow the same procedure above to add an image gallery to your product displays. The advantage or difference is that you are adding the image field to the Content Type or the "group" of products. So, if you were selling tshirts and just had one image, this is how you would set that up.
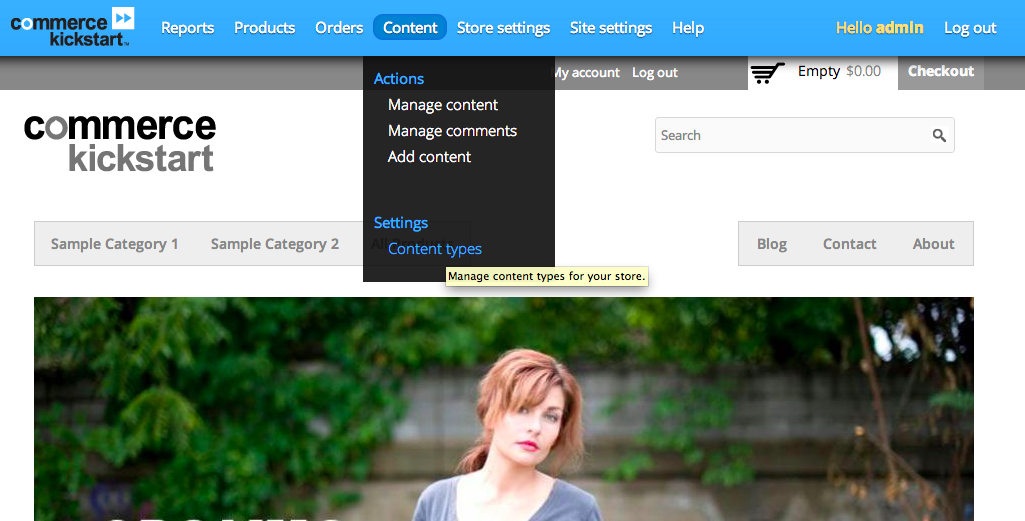
Step 1
Mouseover "Content" and select "Content Types." This will take you to the Product Displays.
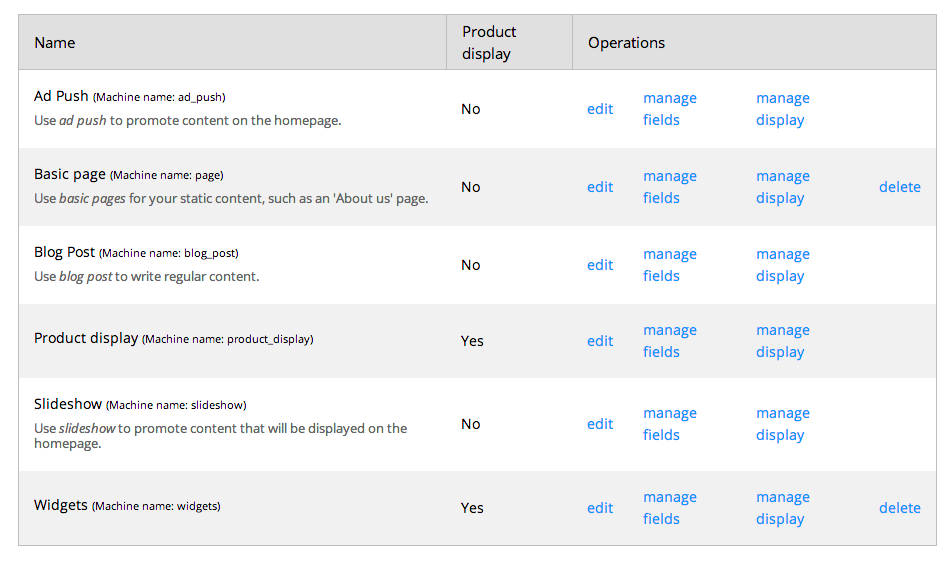
Step 2
Select "Manage Fields" next to your Product Display ... for me, this is the one next to "Widgets."
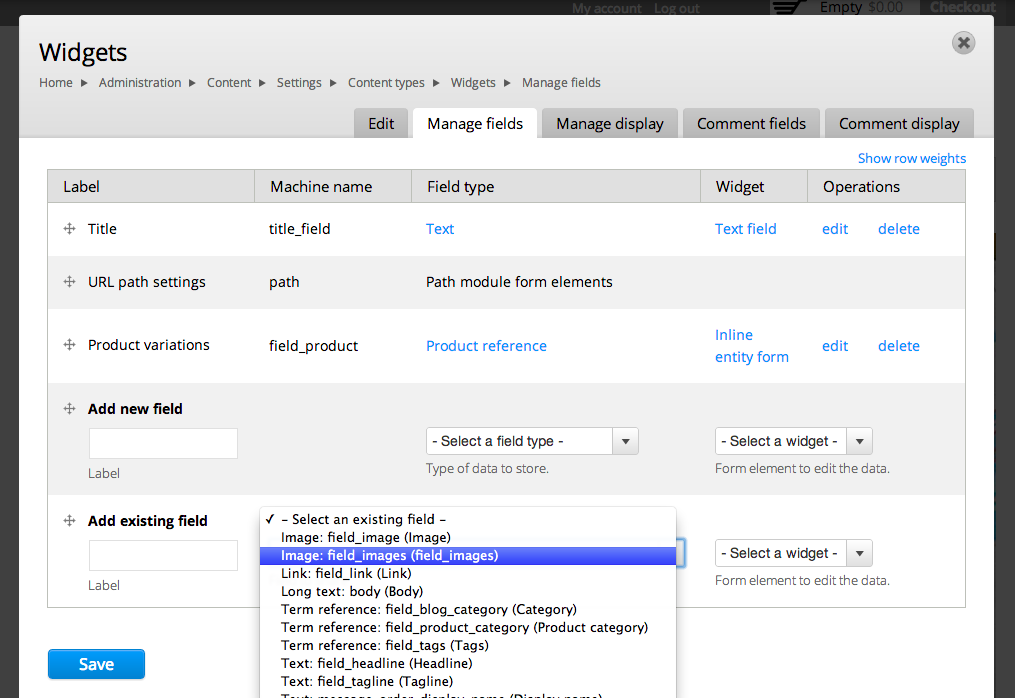
Step 3
Let's add the same existing field as we did in the last step.
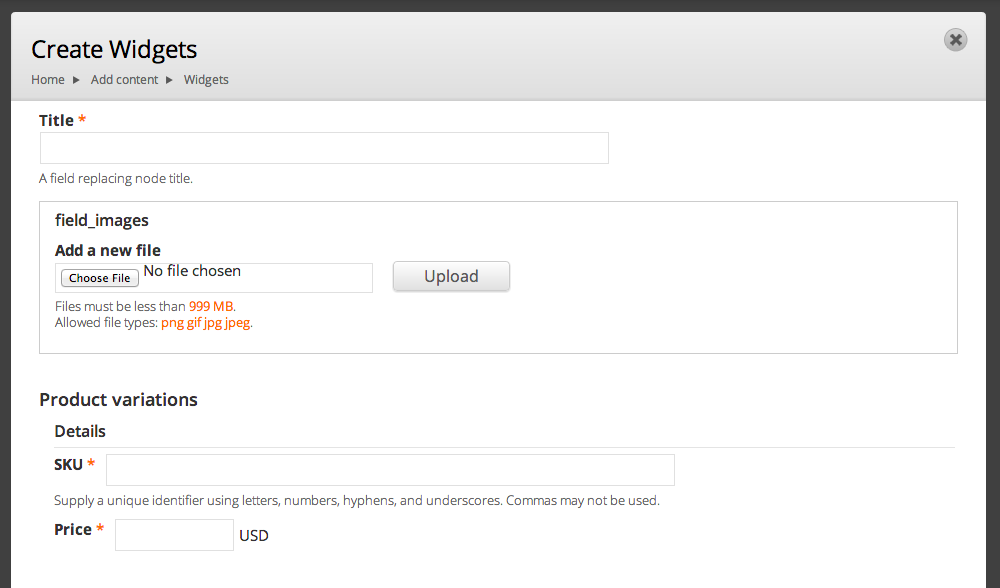
Example Form
This is the example form we have for adding images to the product display vs. product variations. As you can see, the image field is independent from the Product variations.